The Volume Discount campaign allows you to offer discounts based on the quantity of items a customer adds to their cart. Perfect for bundle deals, upsells, and quantity-based promotions.
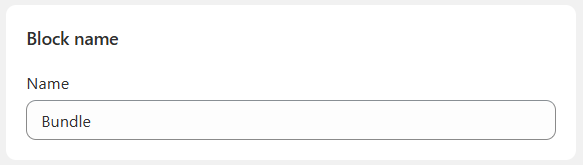
1. Block Name
Start by giving your bundle a recognizable Block Name to manage it easily within your app.
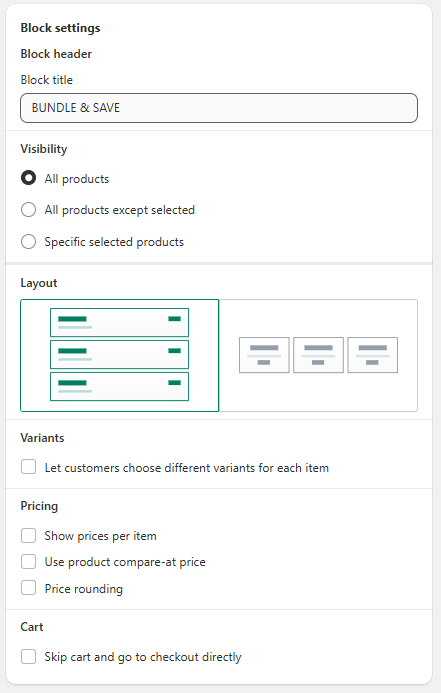
2. Block Settings
- Block Header: This is the title displayed above your bundle offer (e.g., “Bundle & Save”).
- Block Title: Short description or slogan for the deal.
- Visibility Options:
1. All products
2. All products except selected
3. Specific selected products
3. Layout
Choose how your deal should appear visually:
- Vertical layout
- Horizontal layout
4. Variants
Allow customers to select different product variants (like sizes or colors) for each item in the bundle.
5. Pricing Options
- Show prices per item
- Use compare-at price from Shopify
- Apply price rounding for clean pricing
6. Cart Settings
Enable Skip Cart to go directly to checkout after adding the bundle to the cart.
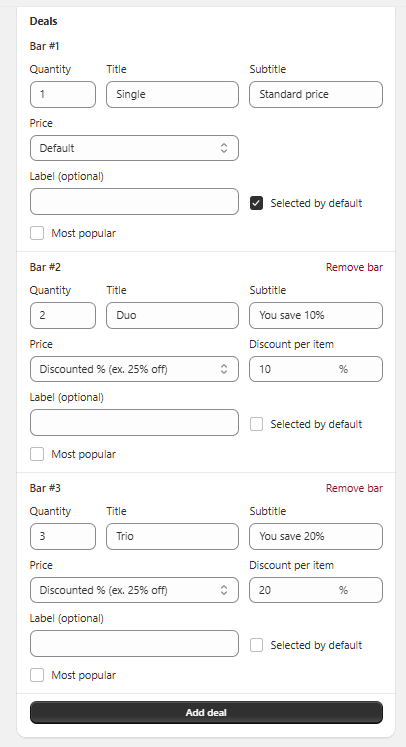
7. Deals Setup
In this section, you can create custom discount tiers based on how many items your customers add to their cart. These tiers (called “Bars”) encourage customers to buy more by offering progressively better deals.
You can configure multiple tiers — each representing a specific quantity, title, and discount value. These bars will be displayed on your store as bundled pricing options.
Bar #1 — Base Quantity (Single)
This is usually the starting tier (typically 1 item). It’s a reference point that shows the standard price without a discount.
- Quantity: Choose how many items are required for this tier (e.g., 1).
- Title: This is the name shown to the customer (e.g., “Single”).
- Subtitle: Use this to describe the deal (e.g., “Standard Price”).
- Price/Discount: This tier usually has no discount and reflects the normal price.
- Label (Optional): You can highlight this tier with a badge, such as “Default”.
Use this tier to give customers a comparison point and encourage them to explore better savings in higher tiers.
Bar #2 — Medium Quantity (e.g., Duo)
This is a mid-level bundle tier designed to offer savings when a customer buys more than one item.
- Quantity: Set the minimum number of items required to unlock the deal (e.g., 2).
- Title: Displayed title of the tier (e.g., “Duo”).
- Subtitle: Use this to highlight the benefit (e.g., “You save 10%”).
- Discount: Choose to apply a percentage discount or fixed amount off per item.
- Label (Optional): Mark this tier as “Selected by default” or “Most Popular” to draw attention.
This tier encourages customers to increase their order quantity for a better deal.
Bar #3 — High Quantity (e.g., Trio)
This is the top-tier offer for customers who buy even more items — usually with the highest discount.
- Quantity: Set the required quantity (e.g., 3 or more).
- Title: The display title (e.g., “Trio”).
- Subtitle: Emphasize the savings (e.g., “You save 20%”).
- Discount: Add a deeper percentage discount or fixed value off.
- Label (Optional): Optionally highlight it as “Most Popular” or make it preselected.
This tier creates a strong incentive to buy in bulk by offering the biggest savings.
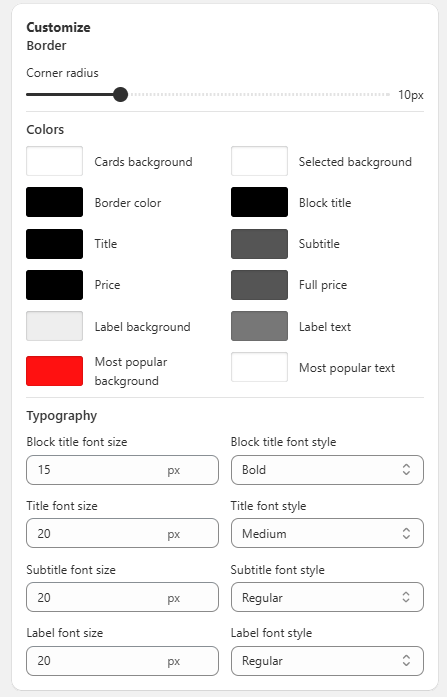
8. Design Customization
In the Design Customization section, you can tailor the visual appearance of your bundle blocks to match your store’s branding. Adjust border styles and corner radius for smooth, modern layouts. Customize background and text colors for cards, labels, and pricing elements to create a visually appealing experience. Typography settings allow you to set font sizes and weights for titles, subtitles, and labels for a polished, on-brand presentation.
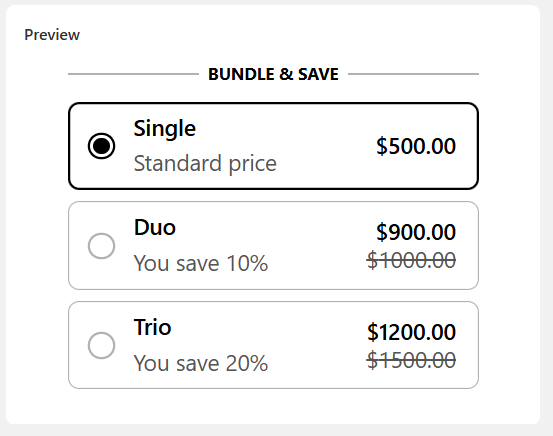
9. Preview
Before saving your bundle campaign, you can preview how it will appear to your customers. The preview includes the block title (e.g., BUNDLE & SAVE) and each bundle tier — such as Single, Duo, and Trio — along with their pricing, savings, and styling. This helps ensure everything looks and functions exactly as intended. Double-check your labels, discounts, and layout, then hit Save to launch the campaign live.